How To Take A Screenshot On Mac
How to Take Screenshot in Mac

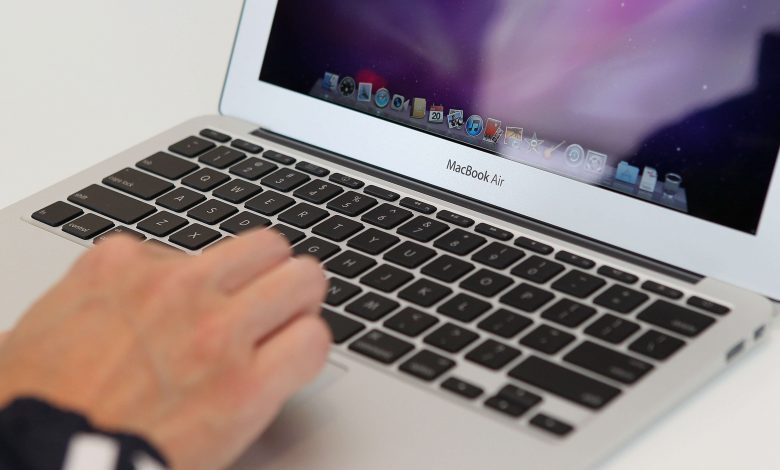
A screenshot is a picture of what you see on your computer screen. Screenshots are great for documenting settings, sharing information that is difficult to describe in text, or for visual guides on how to perform specific activities on your computer.
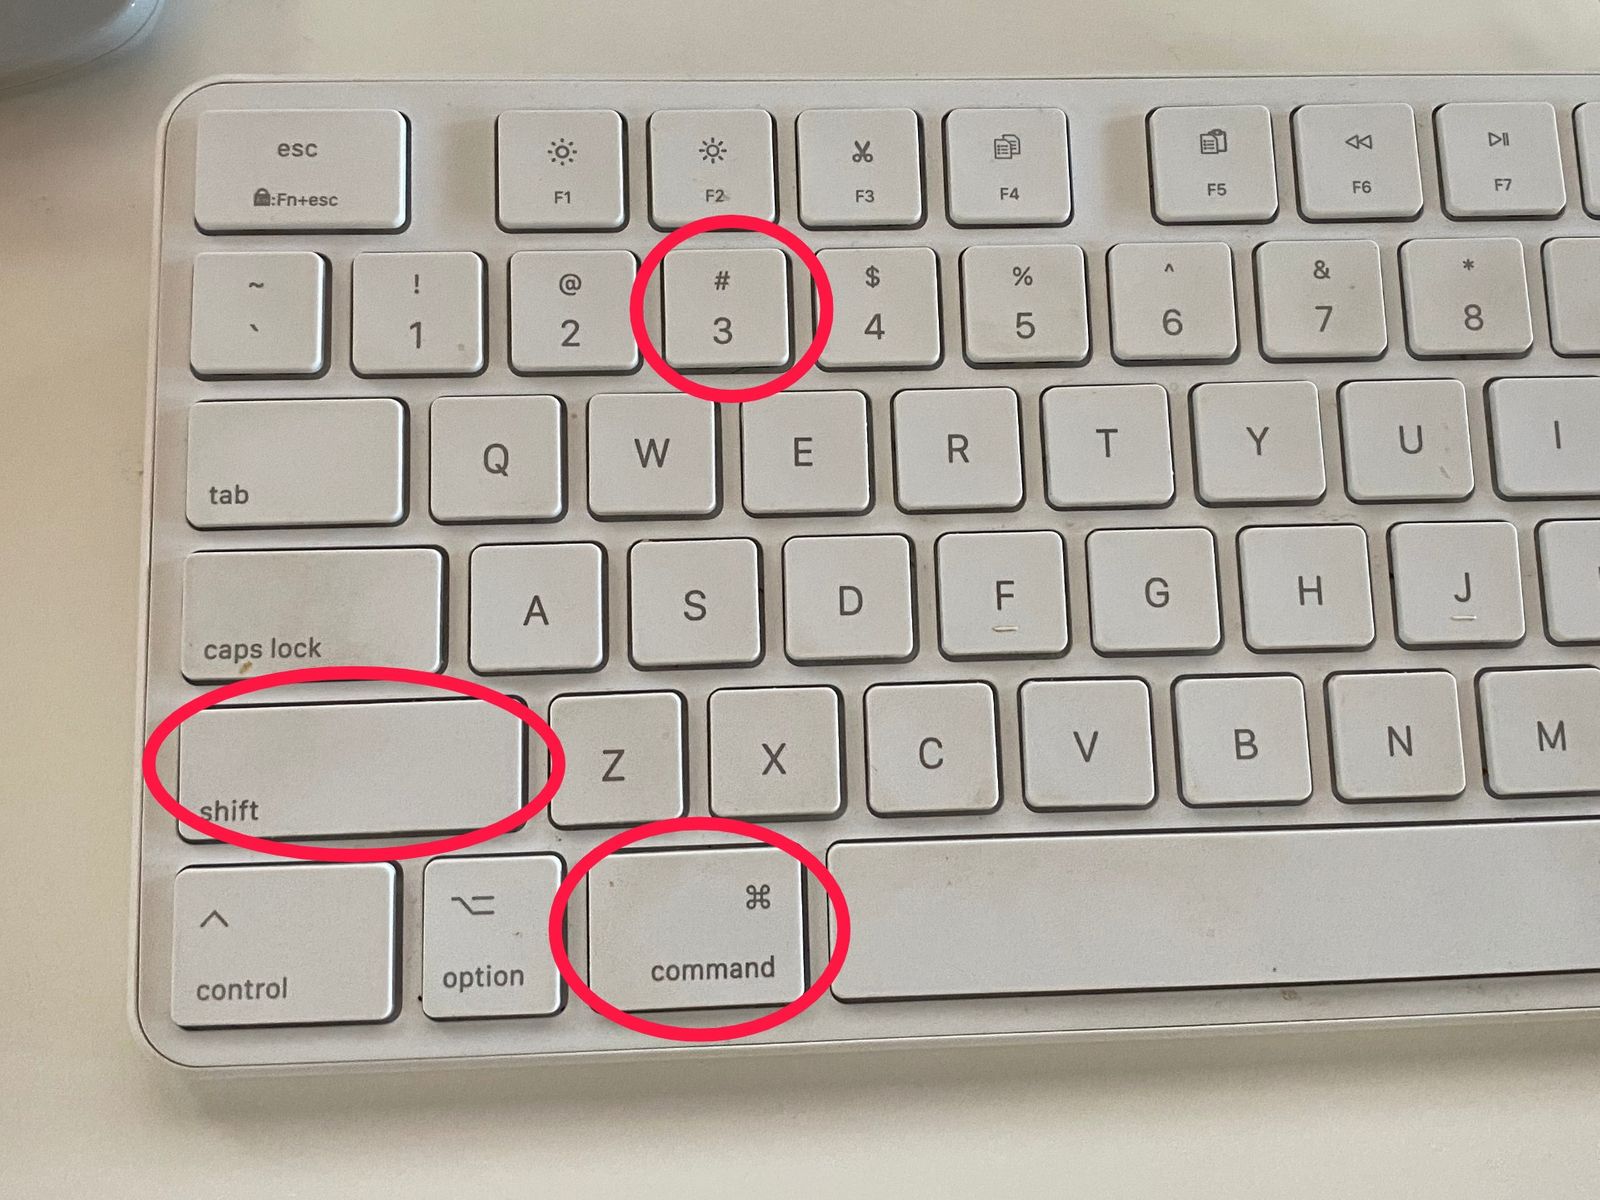
To take a screenshot, use the keyboard shortcut Command + Shift + 3. The screenshot will be automatically saved on your desktop. If you want to copy the image to your clipboard instead, use the keyboard shortcut Command + Control + Shift + 3.
In addition to taking full-screen screenshots, you can also use the following keyboard shortcuts to capture selected areas of your screen:
- Command + Shift + 4: This shortcut allows you to select a specific portion of your screen to capture.
- Command + Shift + 5: This shortcut opens the Screenshot app, which allows you to select different types of screenshots, including capturing a window or a section of your screen.
Learning how to take a screenshot on a Mac will save you time and frustration the next time you need to document something on your computer screen.
How to Take a Screenshot on a Mac

There are several ways to take a screenshot on a Mac. The method you choose will depend on what you want to capture and how you want to save or share your screenshot. Here are three methods to get you started:
Method 1: Full Screen Screenshot
To capture a screenshot of your entire screen, press the Command + Shift + 3 keys simultaneously. The screenshot will be saved as a file on your desktop.
Method 2: Window Screenshot
If you want to capture a specific window, press the Command + Shift + 4 keys simultaneously. When the crosshair appears, press the Spacebar. The cursor will turn into a camera icon. Click on the window you want to capture. The window will be highlighted in blue and the screenshot will be saved as a file on your desktop.
Method 3: Selection Screenshot
If you want to capture a specific portion of your screen, press the Command + Shift + 4 keys simultaneously. The cursor will turn into a crosshair. Click and drag your cursor to select the portion of your screen you want to capture. When you release the mouse button, the screenshot will be saved as a file on your desktop.
Now that you know how to take a screenshot on a Mac, you can use this useful feature to save and share information with others.
How to Take a Screenshot on Mac [8 Different Ways]
There are many ways to take screenshots on a Mac, and the method you choose will depend on what you want to capture and how you want to save or share your screenshot. Here are eight different methods to choose from:
Method 1: Full Screen Screenshot
To capture a screenshot of your entire screen, press the Command + Shift + 3 keys simultaneously. The screenshot will be saved as a file on your desktop.
Method 2: Window Screenshot
If you want to capture a specific window, press the Command + Shift + 4 keys simultaneously. When the crosshair appears, press the Spacebar. The cursor will turn into a camera icon. Click on the window you want to capture. The window will be highlighted in blue and the screenshot will be saved as a file on your desktop.
Method 3: Selection Screenshot
If you want to capture a specific portion of your screen, press the Command + Shift + 4 keys simultaneously. The cursor will turn into a crosshair. Click and drag your cursor to select the portion of your screen you want to capture. When you release the mouse button, the screenshot will be saved as a file on your desktop.
Method 4: Timed Screenshot
If you need to take a screenshot of a menu or tooltip that disappears when you click elsewhere on your screen, you can use a timed screenshot. Press the Command + Shift + 5 keys simultaneously. In the Screenshot app that appears, select the "Options" button. Choose "Capture" and set a timer for 5 or 10 seconds. Press "Capture" and wait for the timer to count down. Your screenshot will be saved as a file on your desktop.
Method 5: Touch Bar Screenshot
If your MacBook Pro has a Touch Bar, you can take a screenshot of it by pressing the Command + Shift + 6 keys simultaneously. The screenshot will be saved as a file on your desktop.
Method 6: Screenshot with Markup
You can use the Screenshot app to add annotations or drawings to your screenshot before saving it. Press the Command + Shift + 5 keys simultaneously. In the Screenshot app that appears, select the "Options" button. Choose "Show Floating Thumbnail" to preview your screenshot and access markup tools such as pencil, shapes, text, and a signature tool. When you're done, click "Save" to save your edited screenshot as a file on your desktop.
Method 7: Screenshot an iPhone or iPad
If you want to take a screenshot of your iPhone or iPad screen, connect your device to your Mac via USB cable. Open QuickTime Player and select "File" > "New Movie Recording". Select your device in the drop-down menu next to the "Record" button. Adjust the settings as desired and click the "Record" button. Perform the actions you want to capture on your device. Stop recording when you're done. The recording will be saved as a file on your desktop. You can then select "Edit" > "Trim" to select a portion of the recording to save as a still image.
Method 8: Use a Third-Party Tool
If you need more advanced screenshot capabilities, you may want to consider using a third-party tool such as Snagit or Skitch.
By using one or more of these methods, you can take screenshots on your Mac like a pro and save and share important information with others.
How to take a screenshot on Mac

Taking a screenshot on a Mac is quick and easy, whether you want to snap an image of your entire screen, a particular window or a specific selection. Here's what you need to know.
Full-screen screenshot
To capture your entire screen, hold down the Command + Shift + 3 keys simultaneously. The screenshot will be saved as a file on your desktop.
Window screenshot
To capture an individual window, press Command + Shift + 4, then hit the space bar. This will change your cursor to a camera. Click the window you want to capture and your screenshot will be saved to your desktop.
Selection screenshot
To capture a select area of your screen, press Command + Shift + 4, then click and drag the cursor over the area you want to capture. Once you release the mouse button, your screenshot will be saved to your desktop.
Timed screenshot
A timed screenshot allows you to capture any action that can't be timed right. Press the Command + Shift + 5 keys, then select the "Options" button. Choose "Capture" and set a timer for 5 or 10 seconds. Click "Capture" and wait for the timer to count down. Your screenshot will be saved as a file on your desktop.
Conclusion
Taking screenshots on a Mac is simple, and there are several methods to choose from depending on what you want to capture and how you want to save or share your screenshot. Whether you use keyboard shortcuts or third-party tools, you can capture screens like a pro and share important information with others.
How to Take and Edit Screenshots on a Laptop
If you use a MacBook, you have many options for taking screenshots, including built-in keyboard shortcuts and third-party tools. Here are some tips for taking and editing screenshots on your MacBook:
Keyboard Shortcuts
- Command + Shift + 3: This shortcut takes a screenshot of your entire screen.
- Command + Shift + 4: This shortcut lets you select an area of your screen to capture.
- Command + Shift + 4, then Space: This shortcut captures an entire window.
- Command + Control + Shift + 3: This shortcut copies a screenshot of your entire screen to the clipboard.
- Command + Control + Shift + 4: This shortcut copies a selection of your screen to the clipboard.
Editing Screenshots
If you want to make annotations or edit your screenshots before sharing them, you can use the built-in Preview app on your MacBook. Here's how:
- Open the screenshot you want to edit in Preview.
- Select the "Show Markup Toolbar" button (looks like a pencil).
- Use the toolbar to add shapes, text, and other annotations to your screenshot.
- Once you're done editing, save your changes and share your annotated screenshot.
Now that you know how to take and edit screenshots on your MacBook, you can easily share information with others and document important settings or information.
If you are looking for How to take a screenshot on Mac | Trusted Reviews you've visit to the right page. We have 7 Images about How to take a screenshot on Mac | Trusted Reviews like How to take a screenshot on Mac | Trusted Reviews, How to Take Screenshot in Mac and also How to Take a Screenshot on Mac – TheseSoftware. Here it is:
How To Take A Screenshot On Mac | Trusted Reviews
www.trustedreviews.com trustedreviews
How To Take A Screenshot On Mac [8 Different Ways] - TechOwns
www.techowns.com techowns telegram
How To Take Screenshot In Mac
thetechhacker.com screenshot take mac screen taking
How To Take And Edit Screenshots On A Laptop
www.kapwing.com hold shortcuts taking kapwing
How To Take Screenshot On Mac? - The Teal Mango
 www.thetealmango.com
 absensi capture command thetealmango ditemukan
How To Take A Screenshot On Mac – TheseSoftware
 thesesoftware.com
 thesesoftware
How To Take A Screenshot On A Mac
in.pcmag.com screenshot macbook layar pcmag tanpa recording macs
Techowns telegram. How to take screenshot in mac. How to take and edit screenshots on a laptop

Post a Comment for "How To Take A Screenshot On Mac"