How To Screenshot On Mac
When it comes to taking a screenshot on your Macbook, there are several different methods you can use. Whether you're capturing an image of your screen for work, school, or personal use, there's a screenshot method that will work for you.
Capture a Full Screen Screenshot
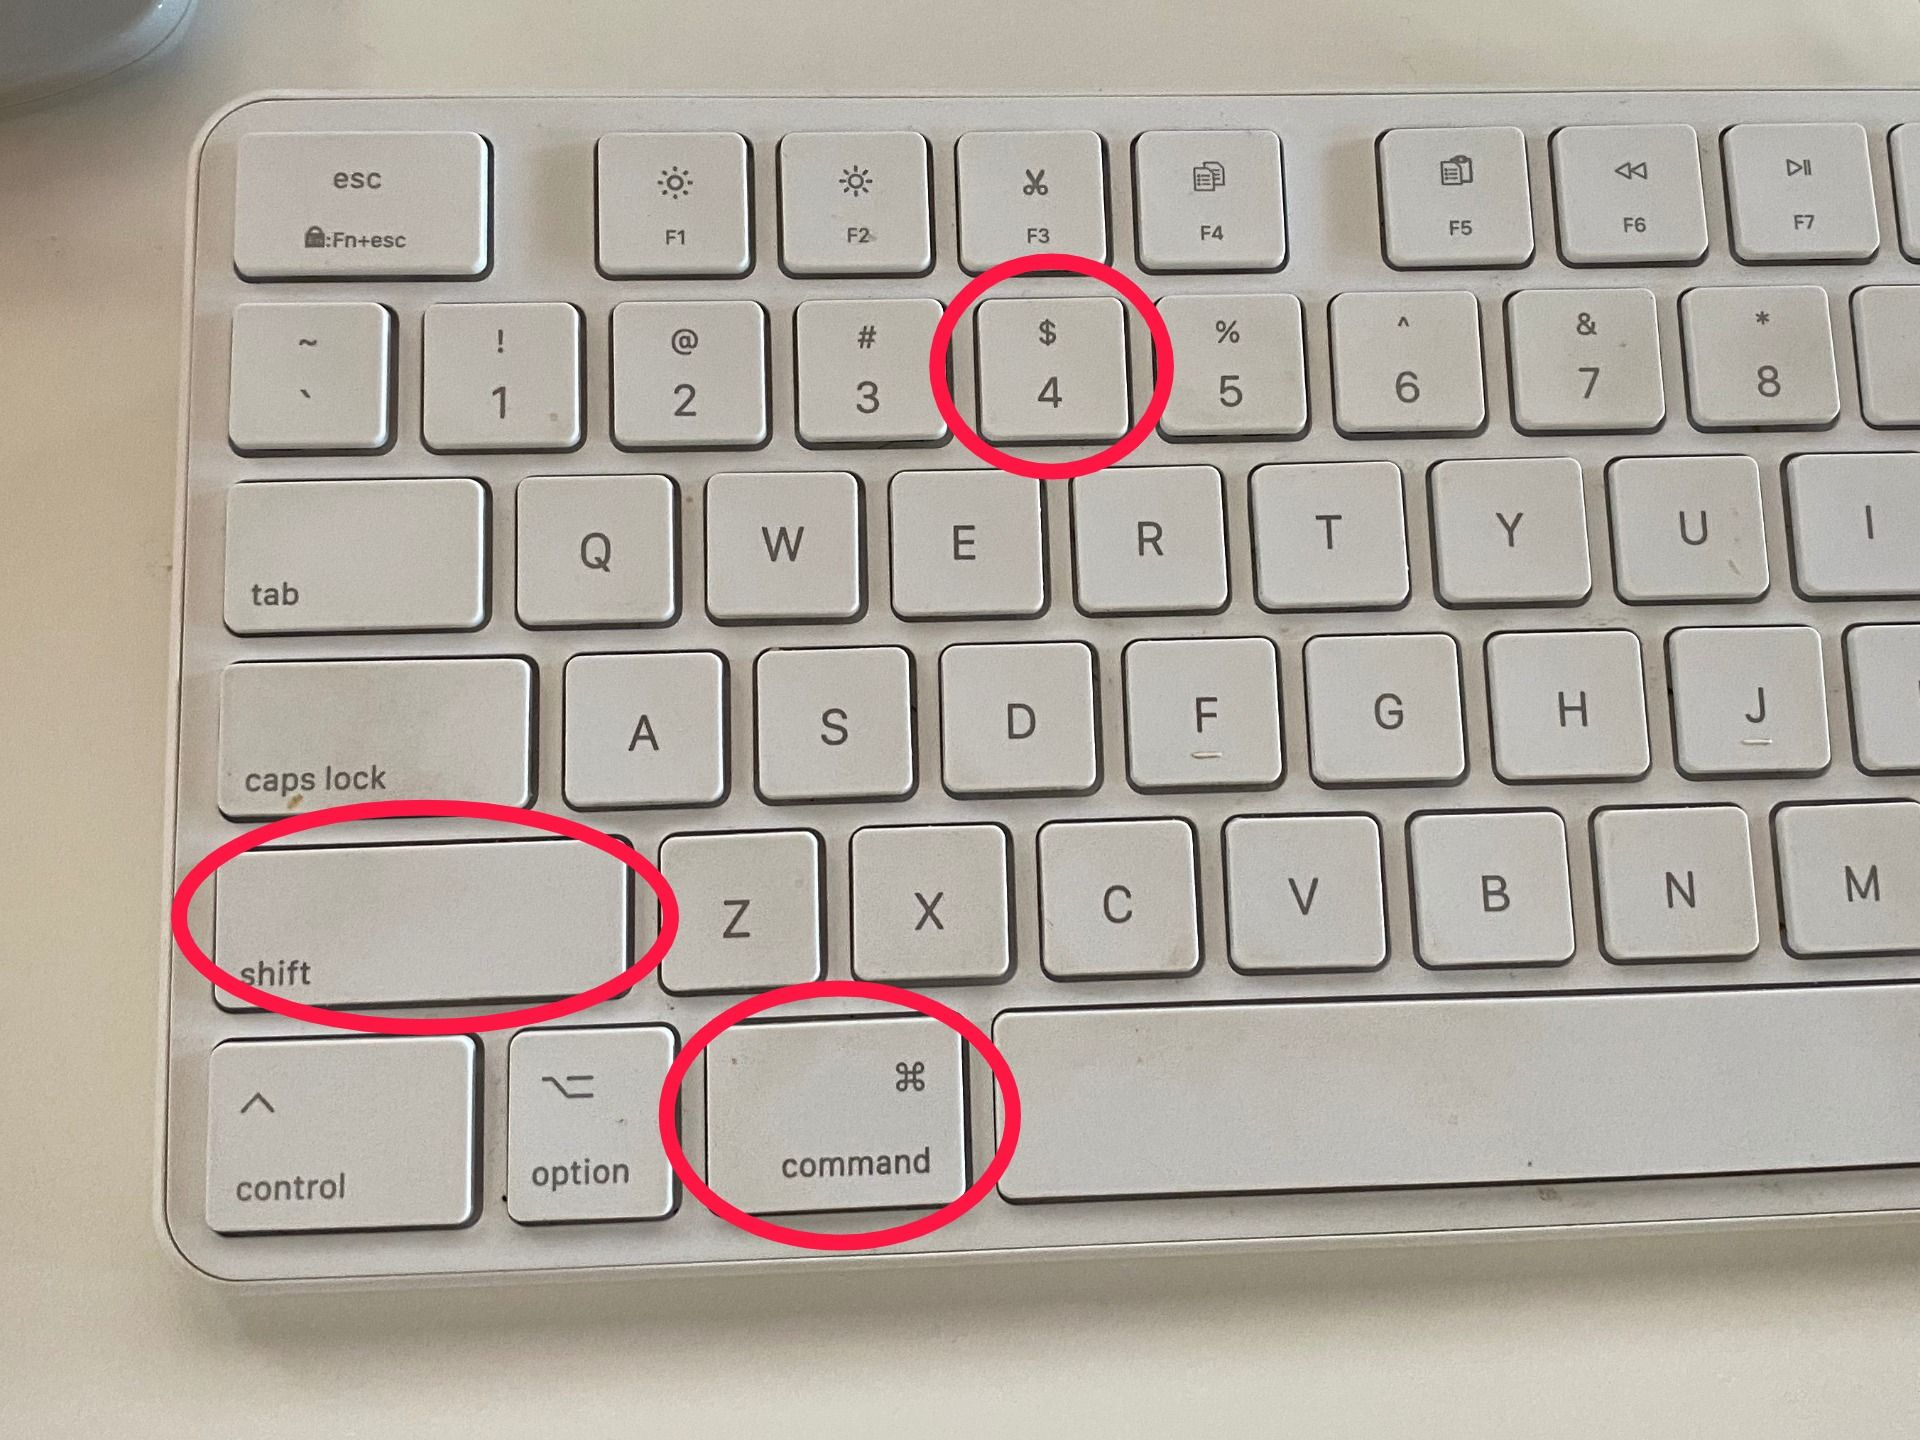
The first method for taking a screenshot on your Macbook is to capture the entire screen. To do this, simply press Command + Shift + 3. The screenshot will be saved as a .png file on your desktop.
Capture a Selected Area of the Screen
If you don't want to capture the entire screen, you can select a specific area to capture. To do this, press Command + Shift + 4. Your cursor will turn into a crosshair. Click and drag the crosshair to select the area you want to capture. Once you release the mouse button, the screenshot will be saved as a .png file on your desktop.

Capture a Window or Menu
If you want to capture a specific window or menu on your Macbook, you can use the Command + Shift + 4 method and then press the space bar. Your cursor will turn into a camera icon. Move the camera over the window or menu you want to capture and click. The screenshot will be saved as a .png file on your desktop.

Capture a Touch Bar Screenshot
If you have a Macbook with a Touch Bar, you can also capture a screenshot of the Touch Bar. Press Command + Shift + 6 to do this. The screenshot will be saved as a .png file on your desktop.

Capture a Timed Screenshot
If you need to capture a screenshot that includes a menu or pop-up that disappears quickly, you can use the Command + Shift + 5 method. This will bring up a screenshot menu with several options. Select either "Capture Selected Portion" or "Capture Entire Screen" and then check the box next to "Timed Screenshot". This will give you a 10-second delay before the screenshot is taken, allowing you to open the menu or pop-up you want to capture.

Additional Tips for Taking Screenshots on Your Macbook
In addition to these methods, there are a few additional tips you can use to take better screenshots on your Macbook:
- Use the Preview app to edit your screenshots. Preview can crop, resize, and annotate your screenshots.
- Change the default screenshot location. If you don't want your screenshots cluttering up your desktop, you can change the default save location to a different folder.
- Use keyboard shortcuts for even faster screenshot taking. There are several keyboard shortcuts you can use to take screenshots without having to use the Command + Shift + 3 or Command + Shift + 4 methods.
The Bottom Line
Taking screenshots on your Macbook is easy and straightforward. Whether you need to capture the entire screen, a selected area, a window or menu, the Touch Bar, or a timed screenshot, there's a method that will work for you. By following these tips and tricks, you'll be able to take better screenshots and save time in the process.
If you are looking for How to Take a Screenshot on Mac [8 Different Ways] - TechOwns you've came to the right place. We have 7 Pics about How to Take a Screenshot on Mac [8 Different Ways] - TechOwns like How to Edit a Screenshot on a Mac, How to take a Screenshot on your Macbook ⋆ Tech for Hunt and also How to take a Screenshot on your Macbook ⋆ Tech for Hunt. Read more:
How To Take A Screenshot On Mac [8 Different Ways] - TechOwns
![How to Take a Screenshot on Mac [8 Different Ways] - TechOwns](https://www.techowns.com/wp-content/uploads/2020/05/How-to-Take-a-Screenshot-on-Mac-scaled.jpg) www.techowns.com
www.techowns.com techowns
How To Take A Screenshot On Your Macbook ⋆ Tech For Hunt
screenshot macbook take mac screen method portion
How To Screenshot On Mac: 5 Simple Ways » Jealous Computers
 jealouscomputers.com
 techs dz
How To Take A Screenshot In Mac - YouTube
 www.youtube.com
 How To Take A Screenshot On A Mac
 au.pcmag.com
 screenshot mac take pcmag
How To Edit A Screenshot On A Mac
 www.kapwing.com
 kapwing
How To Take A Screenshot On Mac | Trusted Reviews
 www.trustedreviews.com
 trustedreviews gmt
How to take a screenshot on a mac. How to edit a screenshot on a mac. Trustedreviews gmt
Post a Comment for "How To Screenshot On Mac"